For aspiring baristas, having a personal space to practice brewing techniques, test recipes, and dial in your espresso shots is incredibly valuable.
But the idea of creating a “coffee lab” at home might sound expensive, especially when you start looking at high-end espresso machines and professional grinders.
The good news? You can build a fully functional and efficient coffee lab at home without draining your savings—if you plan smart, prioritize the right gear, and focus on core barista skills over flashy tools.
In this guide, we’ll walk through exactly how to create a home coffee lab setup that supports your growth as a barista, helps you develop real skills, and keeps your budget in check.
Why Set Up a Home Coffee Lab?
If you’re serious about becoming a barista, even at an entry-level, having your own lab is a game changer. Practicing daily at home allows you to build consistency, understand equipment, and experiment without pressure.
Unlike cafés where you’re on the clock and serving customers, your home is the ideal space to make mistakes, analyze outcomes, and get better shot after shot.
Plus, being familiar with your own gear helps you troubleshoot problems, understand variables like grind size and water temperature, and start thinking like a professional—even if you’re brewing in your kitchen.
Start With a Plan, Not a Purchase
The biggest mistake beginners make is buying gear before knowing what they need. Before shopping, ask yourself:
- What brewing methods do I want to master? (Espresso, pour-over, French press?)
- How much space do I have for setup?
- What’s my total budget?
- Am I focusing more on espresso or on manual brewing?
Write this down—it’s your blueprint. It’ll stop you from impulse-buying expensive machines or accessories that don’t match your goals.
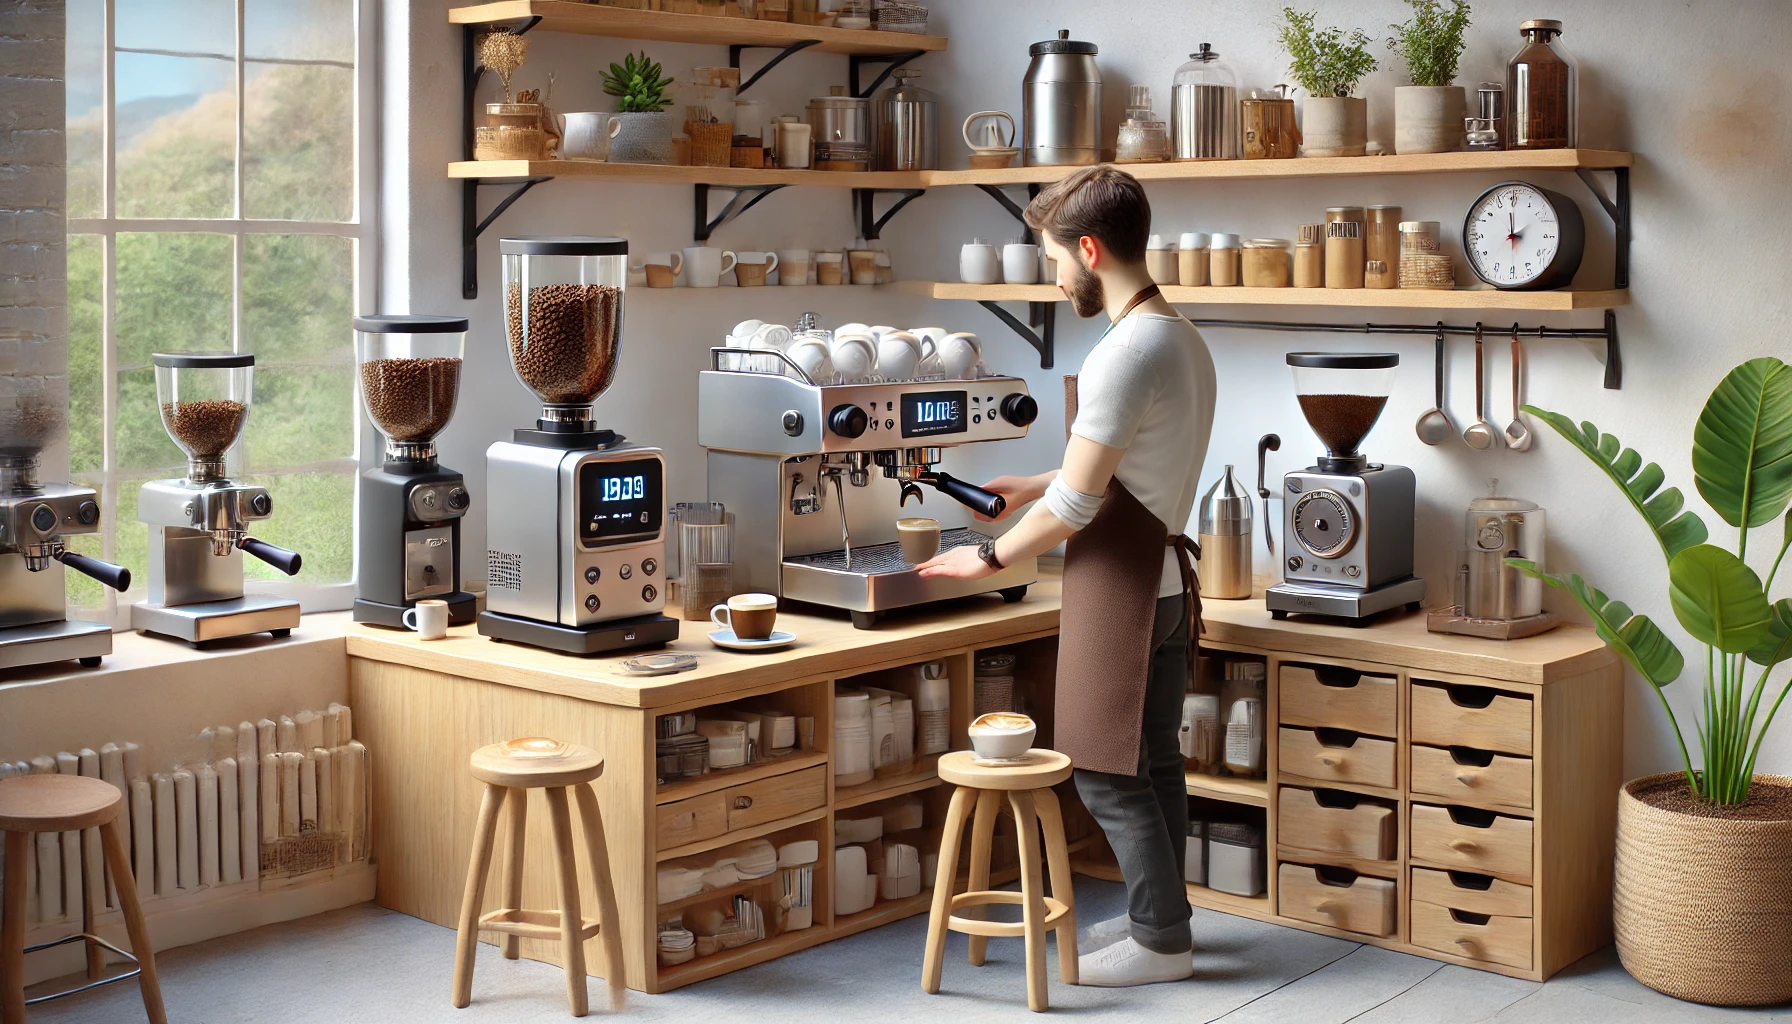
Choosing Your Core Equipment
When building a budget-friendly home coffee lab, focus on gear that teaches you fundamentals. You don’t need the most expensive tools—you need the most functional and educational ones.
Entry-Level Espresso Machine
If espresso is your focus, an affordable semi-automatic machine is ideal. Look for one with:
- A proper steam wand (not a frother tip)
- Consistent pressure (9 bars)
- Temperature control
- Ability to use a bottomless portafilter
Great beginner options include the Gaggia Classic Pro or the Breville Bambino Plus. They’re compact, affordable, and offer real espresso training potential.
Coffee Grinder
This is non-negotiable. A quality burr grinder is more important than your machine. If your grind is inconsistent, your shot will be too.
Look for:
- Burr (not blade) grinders
- Adjustable grind settings
- Stepless adjustment if possible
The Baratza Encore ESP or Timemore Chestnut C2 (manual) are excellent budget picks.
Brewing Scales
A scale is essential for measuring dose and yield. You don’t need a $200 coffee scale to get started—just one with:
- 0.1g precision
- Fast response time
- Built-in timer (bonus)
There are solid options under $30 that do the job perfectly.
Kettle
If you’re doing pour-over, temperature control matters. A gooseneck kettle with variable temperature is ideal. However, if you’re on a tight budget, even a basic electric kettle paired with a thermometer works.
Water Solution
Remember: coffee is 98% water. Invest in a water filter or use mineral sachets like Third Wave Water to improve taste and protect your gear from scale buildup.
Tamper and Distribution Tool
Stock tampers that come with machines are often too light or uneven. A solid 58mm tamper is worth buying early on. Consider pairing it with a distribution tool for consistent puck prep.
Milk Pitcher
If you’re practicing microfoam, a stainless-steel milk pitcher with a sharp spout is essential. It gives you pouring control and helps with latte art training.
Optional but Helpful Additions
Once your core gear is set up, you can gradually expand your lab. Here are useful additions that still stay within budget:
- Bottomless portafilter (helps diagnose extraction issues)
- WDT tool (for breaking clumps in espresso)
- Espresso shot mirror
- Digital thermometer
- Coffee journal or tasting log
- Small knock box for spent pucks
These aren’t critical to get started, but they help deepen your learning once you’re comfortable with the basics.
Designating Your Coffee Lab Space
You don’t need a dedicated room or big counter. Even a small corner of the kitchen can become a professional setup with smart organization.
- Use a sturdy table or cart to hold your machine and grinder
- Add wall shelves for accessories and cups
- Install a hook or magnetic strip for hanging tools
- Place a silicone mat to protect your surface from spills and heat
Visual organization also helps with workflow. You’ll brew faster and more consistently when everything has its place.
Smart Budget Tips
You can easily overspend if you chase trends or copy influencer setups. Here’s how to stay focused:
- Buy used: Espresso machines and grinders often pop up in excellent condition on marketplaces
- Upgrade slowly: Master what you have before jumping to the next thing
- Skip aesthetics: Wooden tamp handles and copper kettles look nice, but they don’t improve your coffee
- Bundle: Some retailers offer beginner barista kits with discounts
- Focus on skills: Remember that gear is only half the equation. Your technique matters more.
Tracking Your Progress
Once your lab is running, start documenting. Use a tasting journal or spreadsheet to record:
- Bean type and roast date
- Grind setting
- Dose in and out
- Brew time
- Taste notes
Over time, this builds awareness of how small adjustments change your brew. It also turns your lab into an active learning space—not just a coffee corner.
Growing With Your Lab
The beauty of a home coffee lab is that it evolves with you. As you improve your barista skills, you’ll naturally start refining your equipment, workflow, and techniques. You might start with a semi-automatic espresso machine and eventually move to dual-boilers or manual levers. Or you might fall in love with pour-over and explore different drippers, filters, and water recipes.
No matter the direction, your home lab gives you the foundation to grow deliberately—not just with your hands, but with your head and palate too.
Frequently Asked Questions (FAQs)
What’s the minimum budget to build a solid home coffee lab?
You can get started with around $300–$500 if you choose budget-friendly but quality gear and focus on espresso or manual brewing—not both at once.
Can I use pre-ground coffee to save money at first?
It’s not ideal. Coffee loses its flavor quickly once ground. If you must, use it for manual brewing—but invest in a grinder as soon as possible.
How much space do I really need?
You can set up a great lab in as little as 2–3 feet of counter space. Organization is key. A small cart with shelves can do wonders.
Is it better to start with espresso or manual brewing?
Manual brewing is cheaper and teaches core concepts like extraction and grind size. Espresso requires more investment and precision but is more versatile long-term.
Do I need to be certified or trained to set up a coffee lab?
Not at all. A home lab is for learning and practicing. If you want formal training later, your home experience will give you a huge head start.
Final Thoughts
You don’t need a commercial kitchen or a barista certificate to start mastering the craft of coffee—you just need a corner, the right tools, and the commitment to practice. A home coffee lab is more than a brewing station; it’s your personal training ground. It’s where you’ll make your first bad espresso, your first beautiful pour-over, and eventually, your first latte that rivals your favorite café.
So set your budget, plan smart, and start building. The skills you develop in your home lab could take you to a job behind a specialty coffee bar, into latte art competitions, or simply to a life where your morning cup is always something to be proud of.